 Skip to content
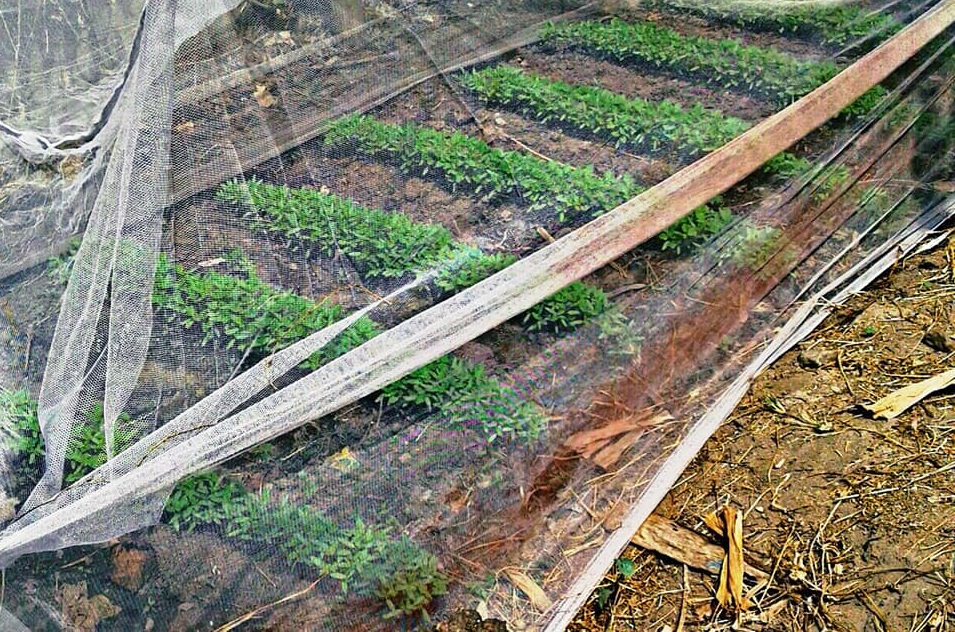
Tomatoes are one of the most popular and versatile vegetables (particularly result) inside the lawn. Their vivid, lovely colors and wealthy flavors cause them to be a critical part of many cuisines. even as shopping tomato flora from a nursery is a commonplace exercise, starting tomatoes from seeds permits an extra palms-on enjoyment and opens up a world of tomato varieties now not usually available as transplants. In this comprehensive guide, we will delve into the essential steps of tomato planting from seeds, providing both beginners and seasoned gardeners with valuable insights and tips.
Starting From Seeds: A Comprehensive Guide
1. Selecting the Right Tomato Seeds
Selecting the appropriate tomato variety is the initial stage in cultivating tomatoes from seeds. Tomatoes exhibit diverse characteristics in terms of shape, size, and color, accompanied by distinct flavor profiles. It is crucial to take into account factors like the local climate, available space, and personal culinary preferences while making a choice. Popular choices for beginners include Roma, Cherry, and Beefsteak tomatoes.
Make sure to select fresh and high-quality seeds. Tomato seeds can be found in a diverse range at garden centers, and online seed suppliers, or you can even collect them from your tomatoes. Remember that seeds from hybrid tomatoes may not yield plants identical to the parent plant. Therefore, if you come across a variety that you especially enjoy, seek out open-pollinated or heirloom seeds.
2. Gathering Supplies
Before you start sowing tomato seeds, gather all the necessary supplies. This includes seed trays or pots, a high-quality seed starting mix, labels, a watering can or spray bottle, and a warm, well-lit area for germination. Additionally, having a heating mat can aid in speeding up germination, especially if you are starting your seeds in a cooler environment.
3. Starting the Seeds Indoors
Tomatoes are warm-season plants, and starting them indoors allows you to get a head start on the growing season. Typically, tomato seeds are started 6-8 weeks before the last expected frost date in your area. This ensures that the seedlings are robust and ready to be transplanted into the garden when the weather is warm enough.
Fill the seed trays or pots with a seed starting mix, which is a lightweight and sterile medium that promotes healthy seedling development. Plant the seeds at a depth of approximately 1/4 inch, and arrange them according to the guidelines provided on the seed packet. Carefully water the soil to ensure uniform moisture without causing waterlogging.
it’s far advocated to cowl seed trays or pots with plastic wrap or moist materials to create a greenhouse-like environment. it is essential to keep it in a warm place, preferably between 70-80°F (21-27°C). As soon as the seeds germinate (commonly takes 5-10 days), it’s encouraged to do away with the duvet to keep away from extra water.
4. Providing Adequate Light
After germination, it’s crucial to provide adequate light for the young seedlings. A sunny windowsill may not be sufficient, as tomato plants require at least 14-16 hours of bright light each day. If natural sunlight is limited, consider using fluorescent or LED grow lights.
Position the lights about 2-3 inches above the seedlings and adjust the height as they grow. This prevents the seedlings from becoming leggy, a condition where they stretch towards the light source, resulting in weak stems.
5. Transplanting Seedlings
After the seedlings have grown their initial set of authentic leaves, they can be transferred to bigger containers. Utilize a potting mix that allows proper drainage and carefully transplant each seedling into its separate pot. Bury the seedlings deeper than they were in the seed tray, as tomatoes can develop roots along their stems.
This process strengthens the root system and promotes a sturdy plant. Make sure to label each pot with the tomato variety to avoid confusion later on. Water the transplanted seedlings gently to settle the soil.
6. Harden Off Before Planting Outdoors
Before transferring your tomato seedlings to the garden, it is crucial to expose them gradually to outdoor conditions. This procedure, referred to as hardening off, aids in the adaptation of the seedlings to variations in temperature, sunlight, and wind.
About two weeks before your planned transplanting date, gradually expose the seedlings to outdoor conditions. Start by placing them in a sheltered spot for a few hours each day and gradually increase the time and exposure to sunlight. This gradual transition toughens the plants and reduces the risk of transplant shock.
7. Choosing the Right Location in the Garden
To make certain your tomatoes develop well, pick a gap in your lawn that gets at least 6-8 hours of direct daylight per day. make certain the soil is nicely drained and includes masses of natural be counted. Tomatoes pick slightly acidic soil with a pH of 6.0 to 7.0 rather than neutral soil.
Before transplanting, amend the soil with well-rotted compost or aged manure to provide the plants with essential nutrients. Proper spacing is also crucial to allow for good air circulation, which helps prevent diseases.
8. Planting in the Garden
When the risk of frost has passed and your tomato seedlings are hardened off, it’s time to plant them in the garden. Dig a hole slightly deeper and twice as wide as the seedling’s root ball. Gently remove the seedlings from their pots, being careful not to disturb the roots too much.

Place the young plant within the hole, backfill it with soil, and thoroughly water it. It is recommended to add a layer of organic mulch around the base of the plant to help retain moisture and reduce plant growth.
9. Watering and Fertilizing
Tomatoes prefer consistently moist soil, so it’s important to water them regularly, especially during dry periods. Water at the base of the plant keeps the foliage dry, which helps prevent diseases. Inconsistent watering can lead to problems like blossom end rot, a condition where the bottoms of the tomatoes turn black and rot.
Fertilize your tomatoes regularly throughout the growing season. A balanced fertilizer with equal proportions of nitrogen, phosphorus, and potassium is suitable for most tomato varieties. Follow the recommendations on the fertilizer package and avoid over-fertilizing, as excessive nitrogen can lead to lush foliage at the expense of fruit production.
10. Supporting Tomato Plants
As tomato plants grow, they can become heavy with fruit, and without support, the branches may bend or break. There are various methods for supporting tomatoes, including stakes, cages, and trellises. Choose a method that suits your garden space and tomato variety.
Staking involves tying the tomato plant to a vertical stake as it grows, providing support for the main stem. Cages are pre-made structures that encircle the plant, keeping it contained and supported. Trellising involves training the tomato plant to grow vertically along a structure, which is especially useful for indeterminate varieties that can become quite sprawling.
11. Pruning for Productivity
While not necessary, pruning tomato plants can enhance airflow, reduce the risk of diseases, and promote better fruit development. Indeterminate varieties, which continue to grow and produce fruit throughout the season, benefit most from pruning.
Remove suckers, which are the small shoots that develop in the crotch between the main stem and branches. This directs the plant’s energy towards fruit production rather than excessive foliage. However, be cautious not to remove too many leaves, as they are crucial in photosynthesis.
12. Dealing with Pests and Diseases
Tomatoes are prone to different pests and diseases, which encompass aphids, whiteflies, and fungal infections. It is crucial to consistently examine your plants for any indications of problems, such as leaves turning yellow, the presence of spots, or abnormal growth. Early detection allows for prompt intervention.
Consider companion planting with herbs like basil and marigolds, which can help deter certain pests. Neem oil, insecticidal soap, and homemade remedies like garlic spray can be effective against pests. For fungal diseases, such as early blight or late blight, applying a copper-based fungicide can help prevent their spread.
13. Harvesting Tomatoes
The moment of truth arrives when you can finally harvest your homegrown tomatoes. The exact timing depends on the variety, but as a general rule, tomatoes are ready to pick when they reach their full color and feel firm to the touch. Gently twist or cut the tomatoes from the plant, taking care not to damage the stems or nearby fruit.

For the best flavor, allow tomatoes to ripen on the vine whenever possible. However, if frost threatens or you have an abundance of green tomatoes at the end of the season, you can harvest them and ripen them indoors by placing them in a paper bag with a ripe banana or apple.
14. Saving Seeds for the Next Season
If you are growing an open-pollinated or heirloom range, remember to save seeds from the high-quality-acting flora until the next growing season. location the tomatoes on the plant, cast off the seeds, and let them ferment in the box for some days. Rinse and dry the seeds thoroughly, then store them in a groovy, dry place.
By saving seeds, you not only ensure the continuation of your favorite varieties but also contribute to the preservation of the genetics of your tomatoes.
Conclusion
Growing tomatoes from seeds is a rewarding experience that allows you to witness the entire life cycle of these beloved plants. From selecting the right seeds to nurturing seedlings, transplanting into the garden, and finally harvesting ripe tomatoes, each step contributes to a deeper understanding of the gardening process.
Remember that every garden is unique, and experimentation is key to finding the methods that work best for your specific conditions. Whether you’re a novice gardener or a seasoned pro, the journey of planting tomatoes from seeds is filled with learning opportunities, the joy of cultivation, and the delicious satisfaction of enjoying homegrown tomatoes at your table.
